EMUpad
A MAME/etc emulator built-in to a gamepad
You can discuss this/ask me questions over at VideoGameGeek.com in this thread.
This project hacks an emulator in to a standard PC gamepad. The goal is to have a gamepad that you can you can plug in to any PC and just start playing emulated games. To do this we're going to install a USB hub and a USB thumb drive in to a standard PC gamepad.
Tools Needed
- A small screwdriver
- Some way to strip/cut wires . You should use wire stripper, however a razor will do in a pinch.
- A soldering iron and solder
- Some way to move plastic bits. I used a Dremel.
- [Optional] A solder sucker and/or solder wick
Parts Needed
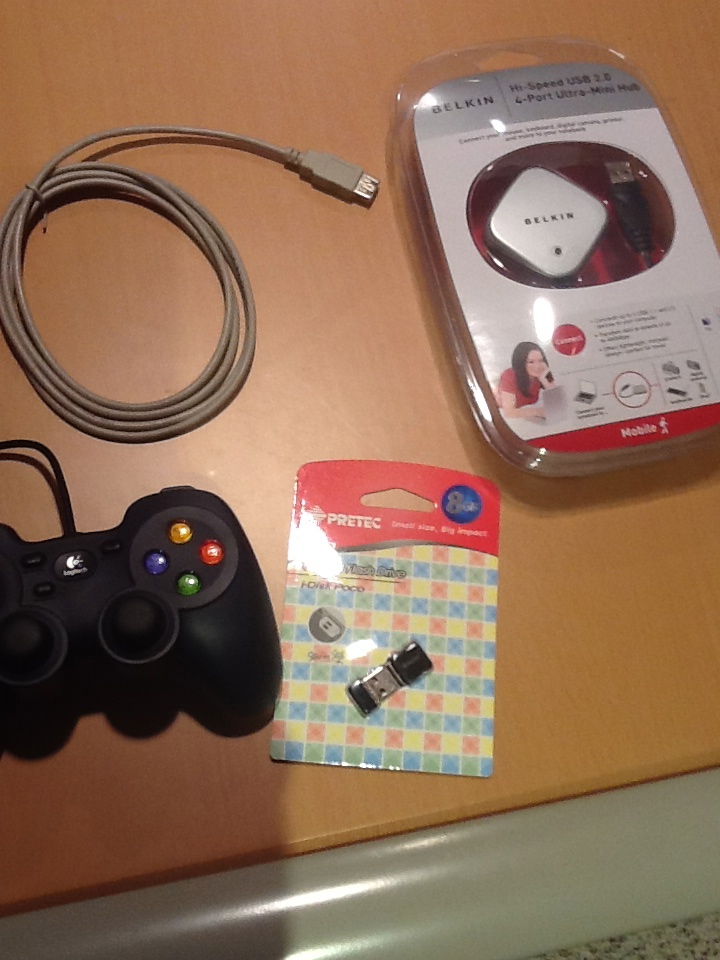
- A Gamepad. I've used a Logitech 310 twice. It needs to be USB, wired, have a decent amount of buttons, and have some room inside.
- A small unpowered USB hub. The smaller the better.
- A small 'micro' USB thumb drive.
- Pliers
- A USB extension cable. You're gonna want this.
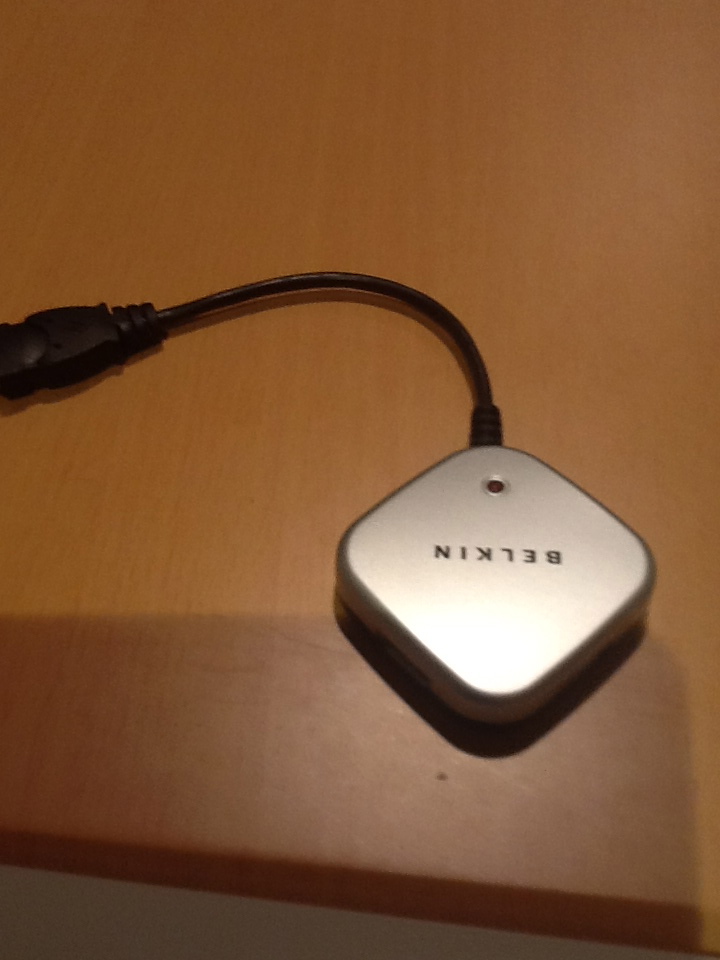
Here's a short of the parts I'm using:
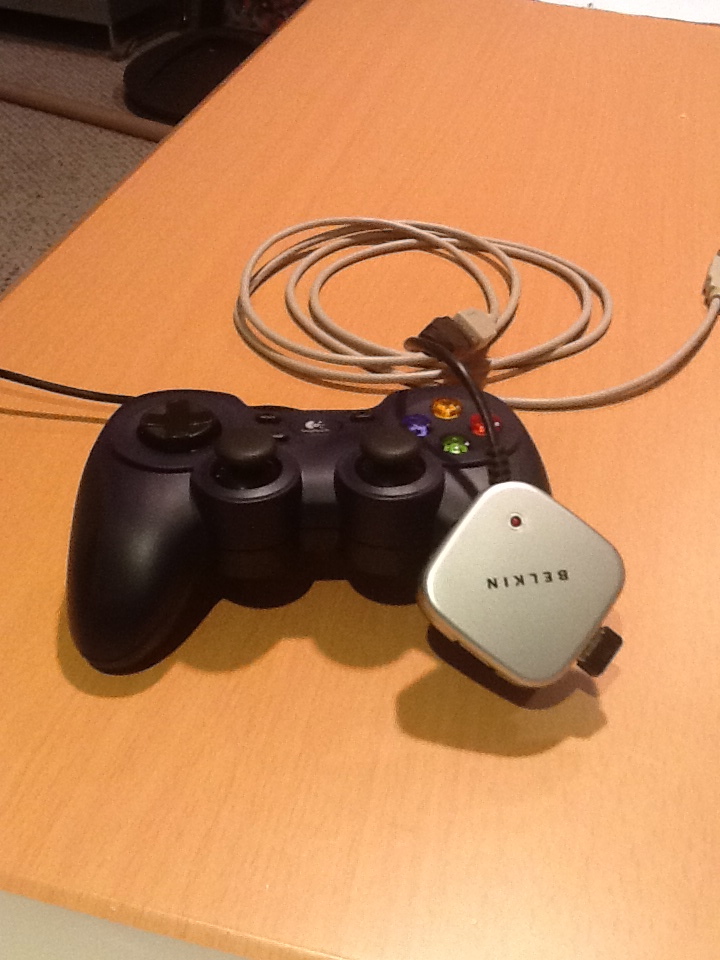
Here's how things are going to go together. We're going to open up the gamepad, put the USB hub in it, and plug the thumb drive in to the USB hub.
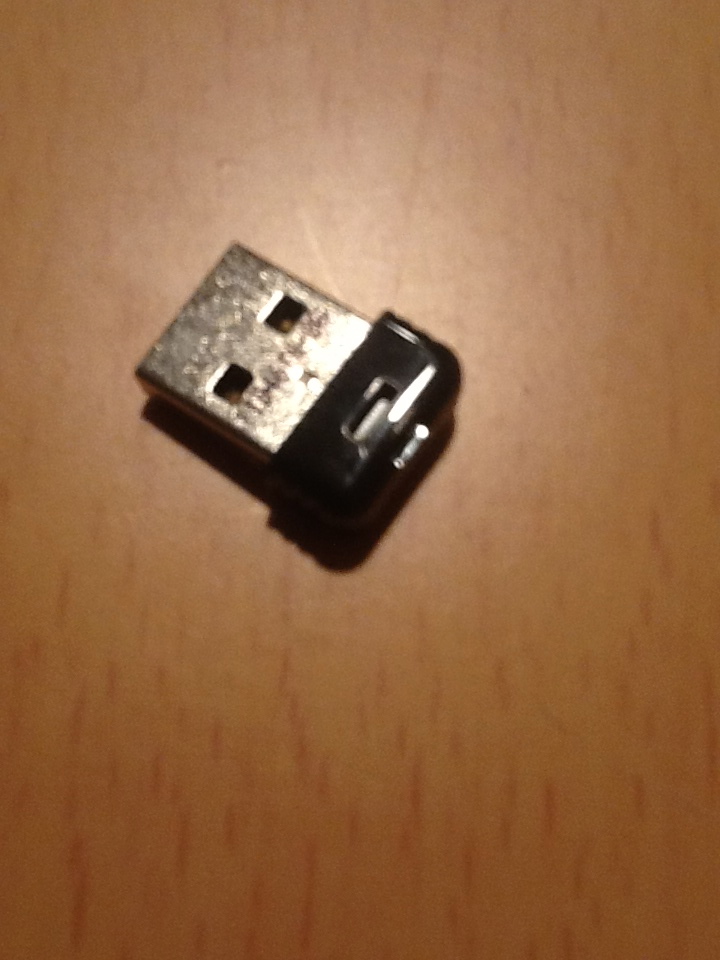
Here's the micro thumb drive. Note that it has a plastic cap on it. I'm going to remove that to make it smaller.
I've grabbed the side of the cap with some pliers. Some brute force wiggling removes the cap from the thumb drive.
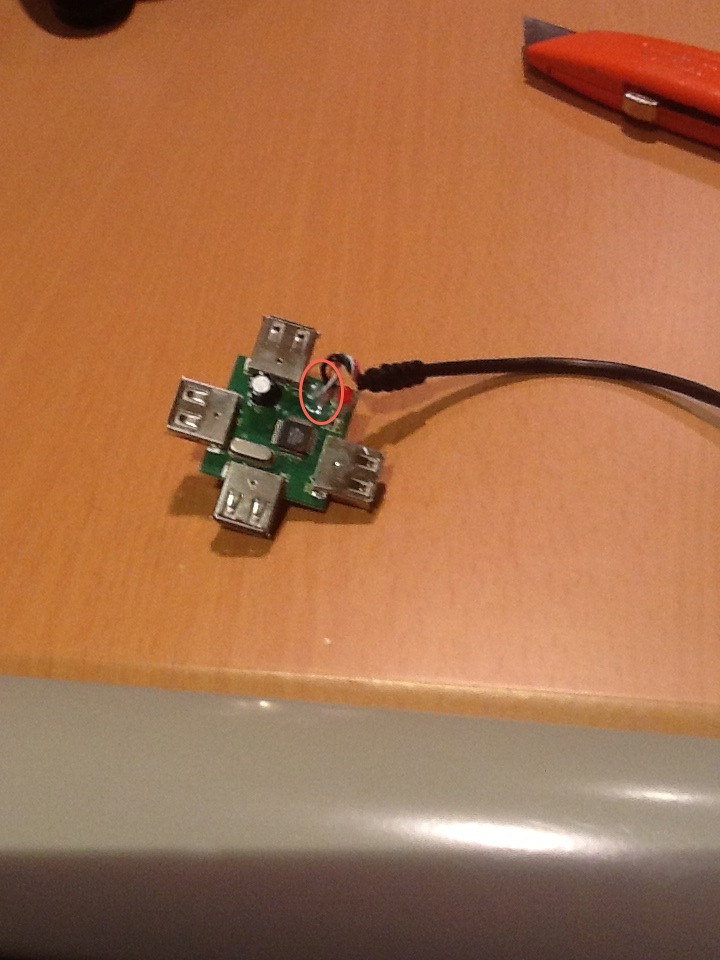
Here's the USB hub. I'm going to pop the case off at the seam on the side.
See those wires I've circled? Be careful with them. Sometimes they are not attached all that well. If one comes off you'll have to solder them back on or get a new hub. Generally you want to be careful that you don't 'wiggle' the cable too much while the case is off. This can happen while you are picking it up, putting it down, turning it over, and soldering on it. Be. Careful.
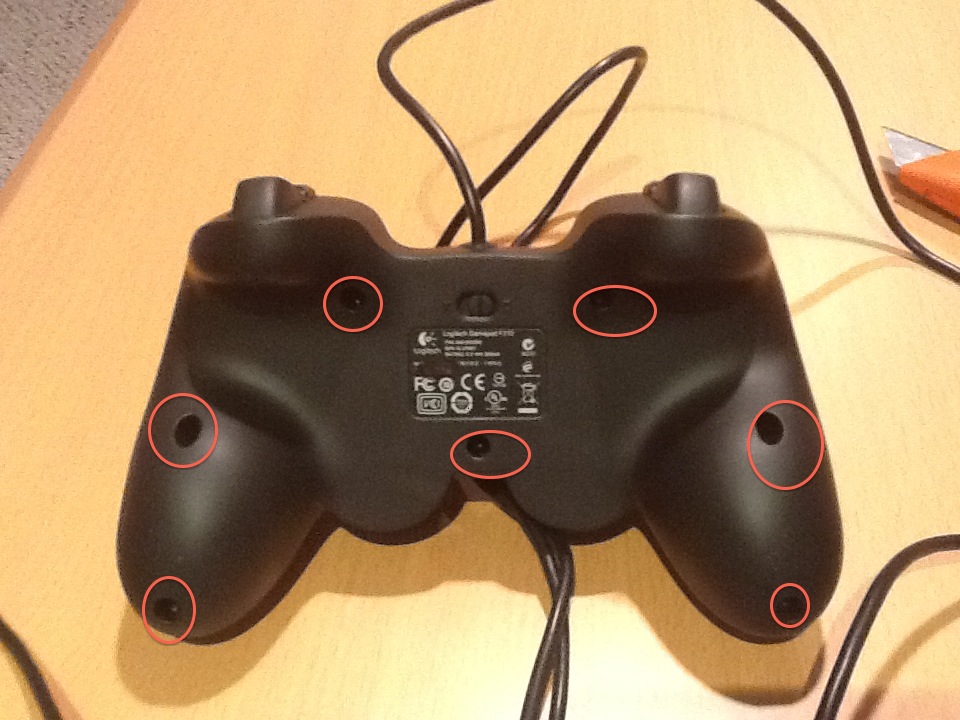
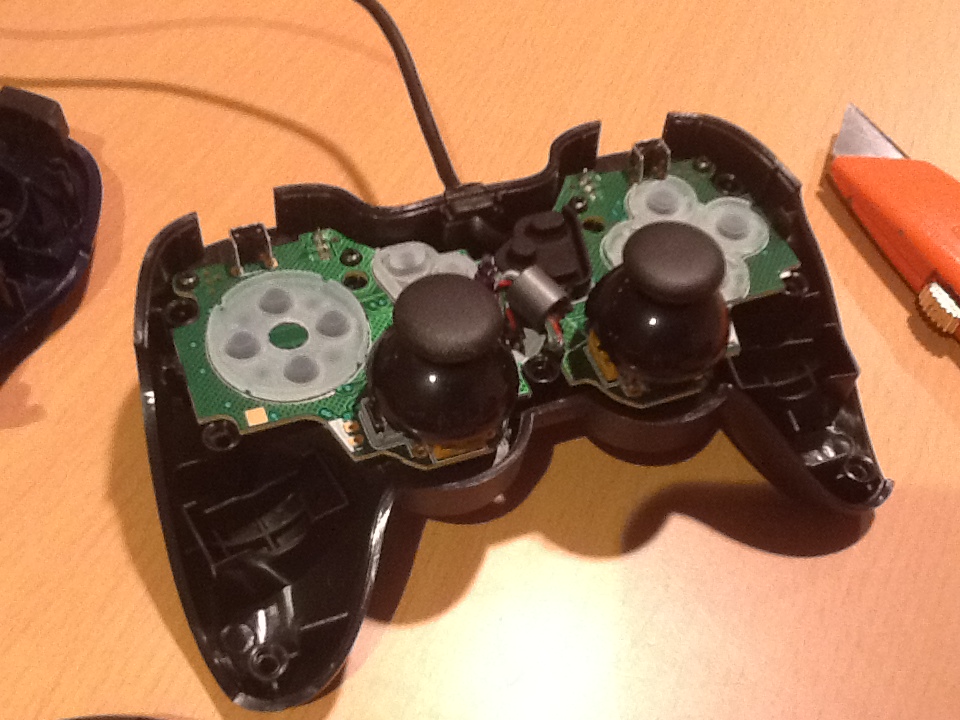
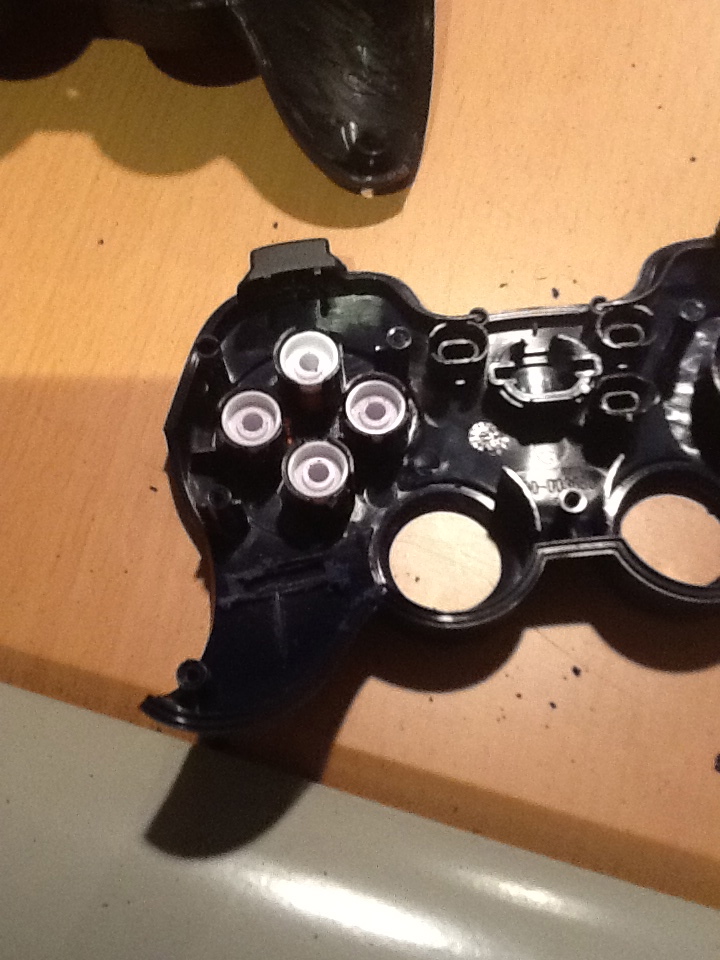
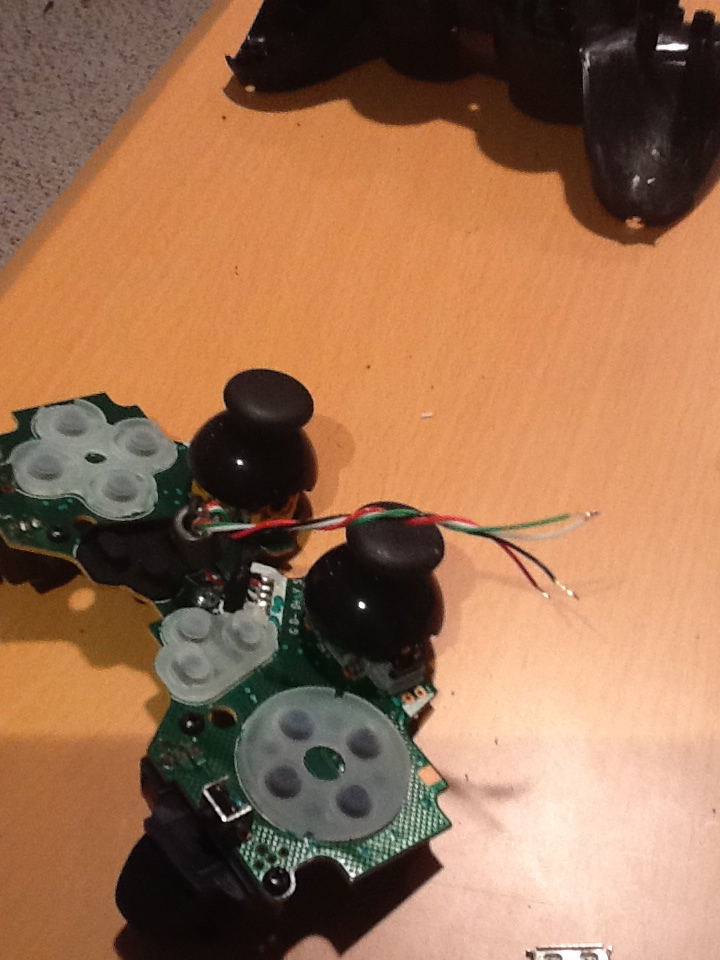
Gamepad is now facedown on the table. Remove the screws. Your gamepad might have some under a label or under some plastic feet. Find your screws and remove them, then lift off the bottom of the gamepad.
Leave the top face down. If you mess much with this then all of the buttons will fall off. That's not a disaster however it is a pain to put them all back in again.
This is the gamepad. Take the wire out of the socket in the back. It should just lift off.
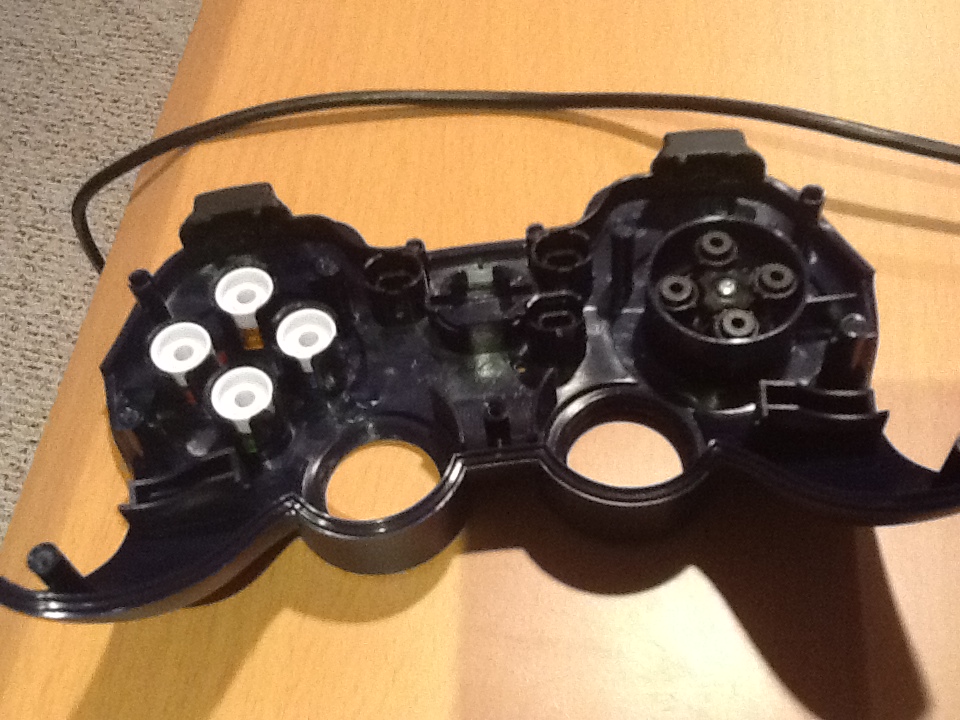
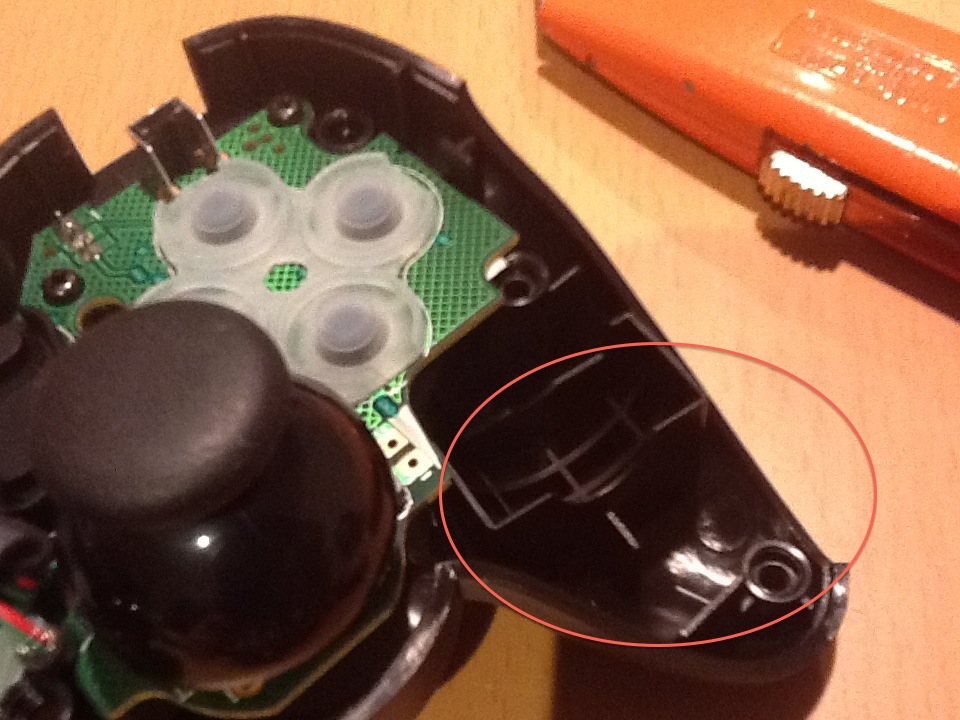
See this handle? We're going to hollow it out by removing all those weird plastic bits.
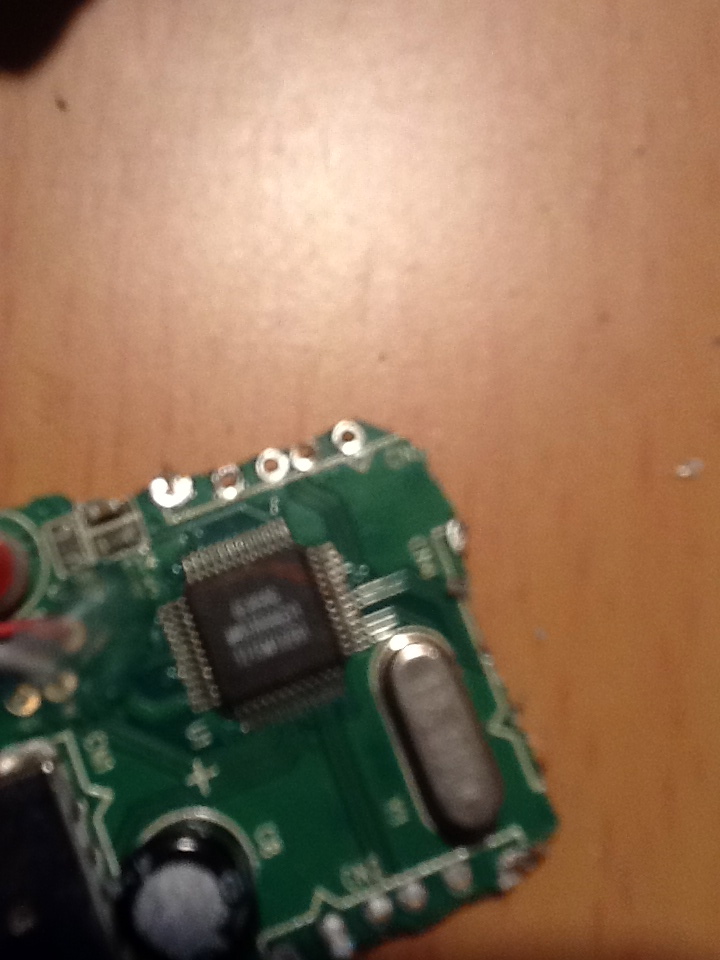
First though, remove the screw that holding the circuit board in to the case and lift out the circuit board.
This is how the USB hub will fit in to the handle.
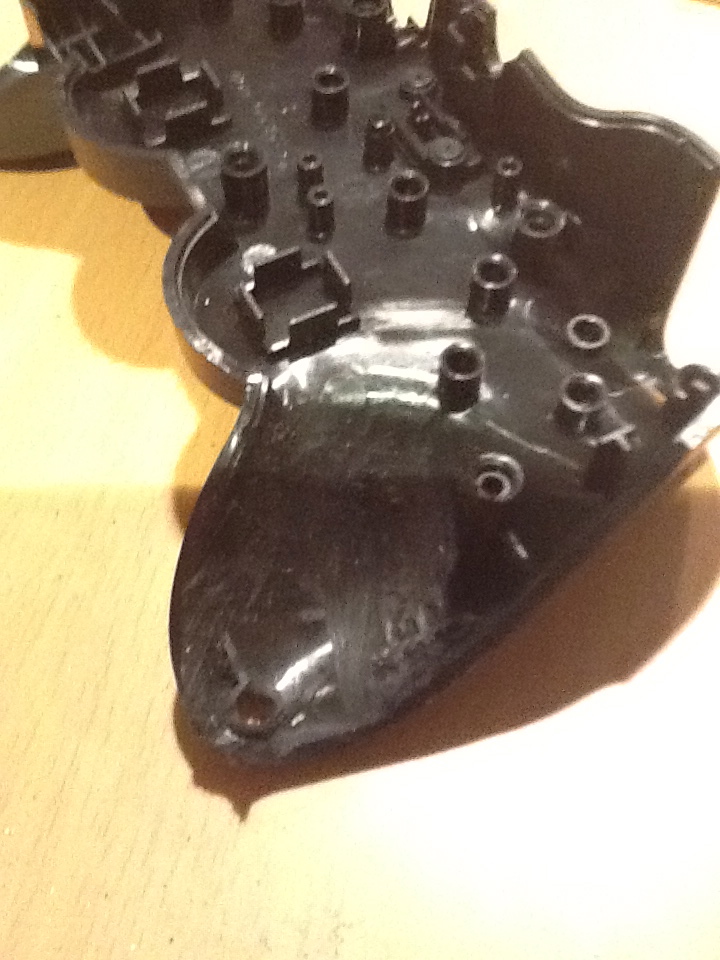
And this is the handle all hollowed out.
I did the same thing to the top of the case as well. Note that it's the OPPOSITE side because of the way it's sitting. Be careful with those buttons!
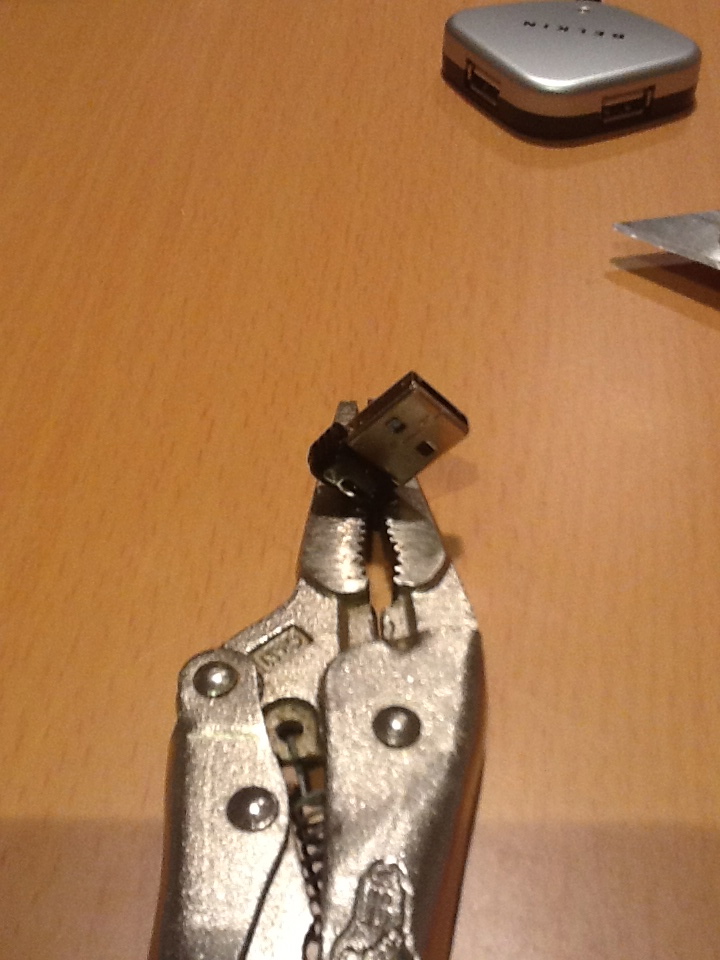
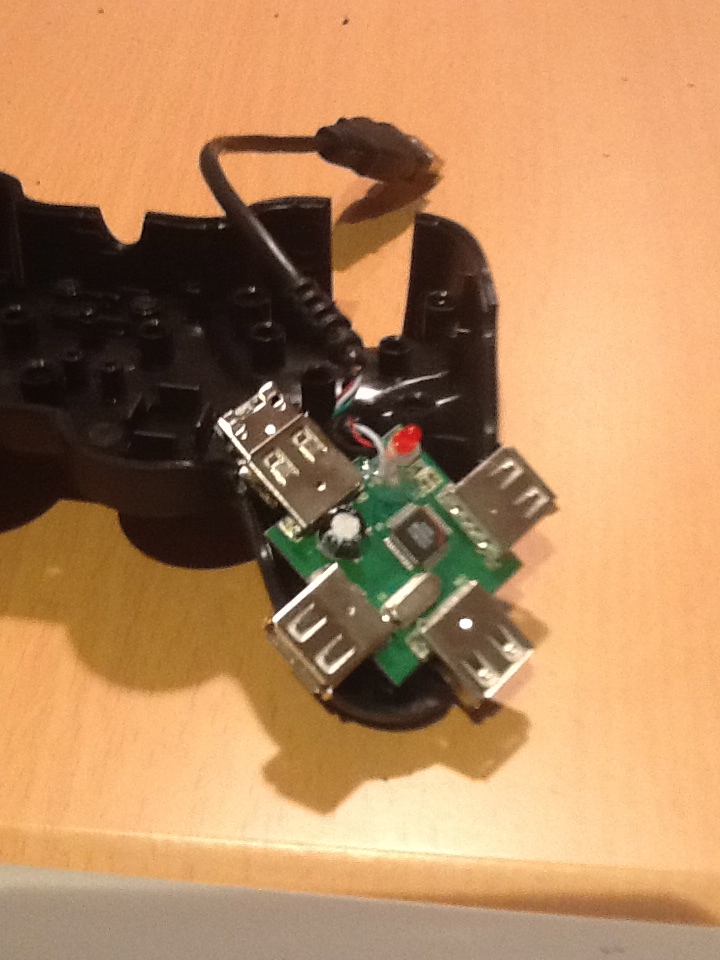
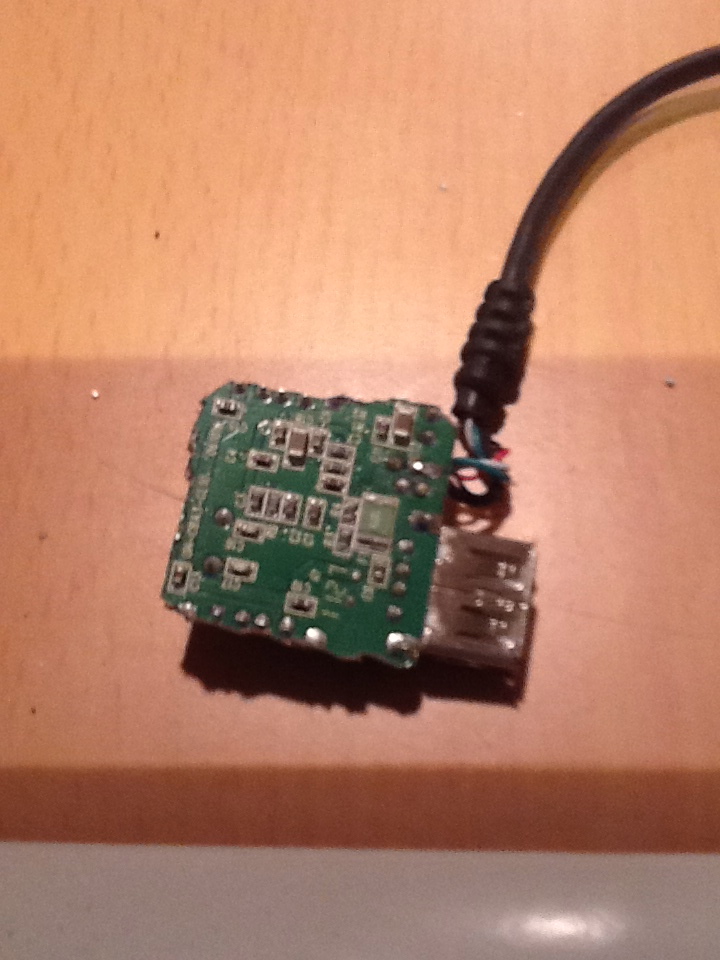
Time to hack the hub apart. This is a 4-port hub but we only need 2 of the ports and only 1 of them needs the USB connector. I'm going to use the pliers to 'wiggle' the USB connectors until they break off. You could also desolder, but it would take longer.
Here's the finished product. Note that I left the connector on that was closest to the cable. You have to decide which one to leave, based on the gamepad you areusing, the hub you are using, and how the hub will fit in to the gamepad.
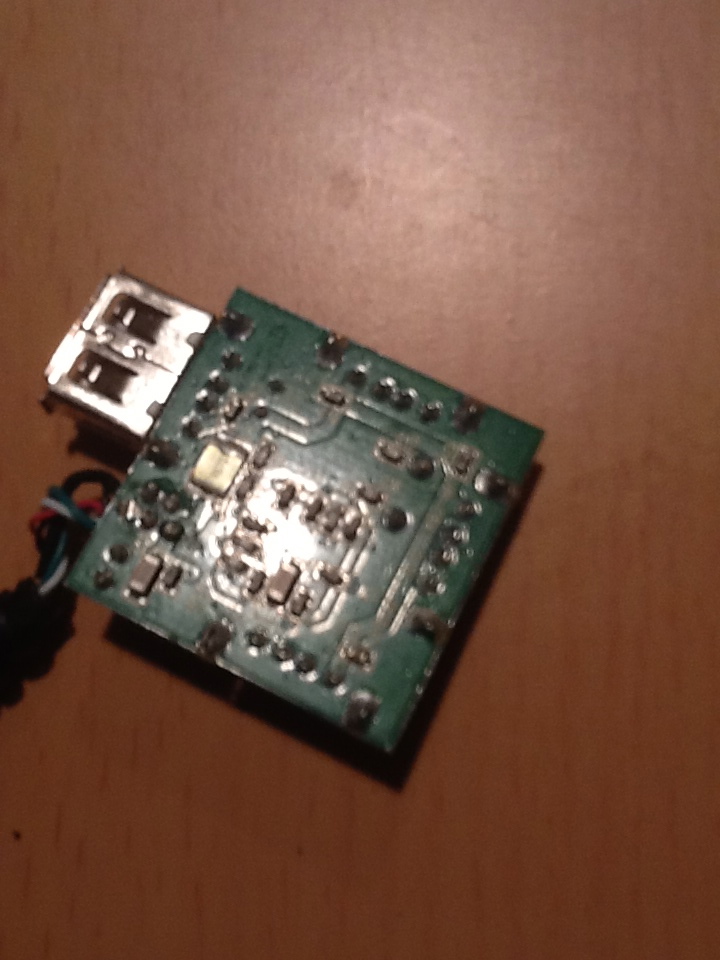
Here's the backside of the hub with the 3 connectors off. There's lots of wasted space on the sides. I'm going to trim off the excess with a dremel. Basically, anything that's green only with no circuit traces is going to get cut off. Check the front AND back side to make sure there are no traces. Note that the 2 'big solders' that attach the USB connectors to the board are NOT traces. You can cut right through them, they are essentially nothing more than 'screws' to holds the connector to the board.
And here's the finished board.
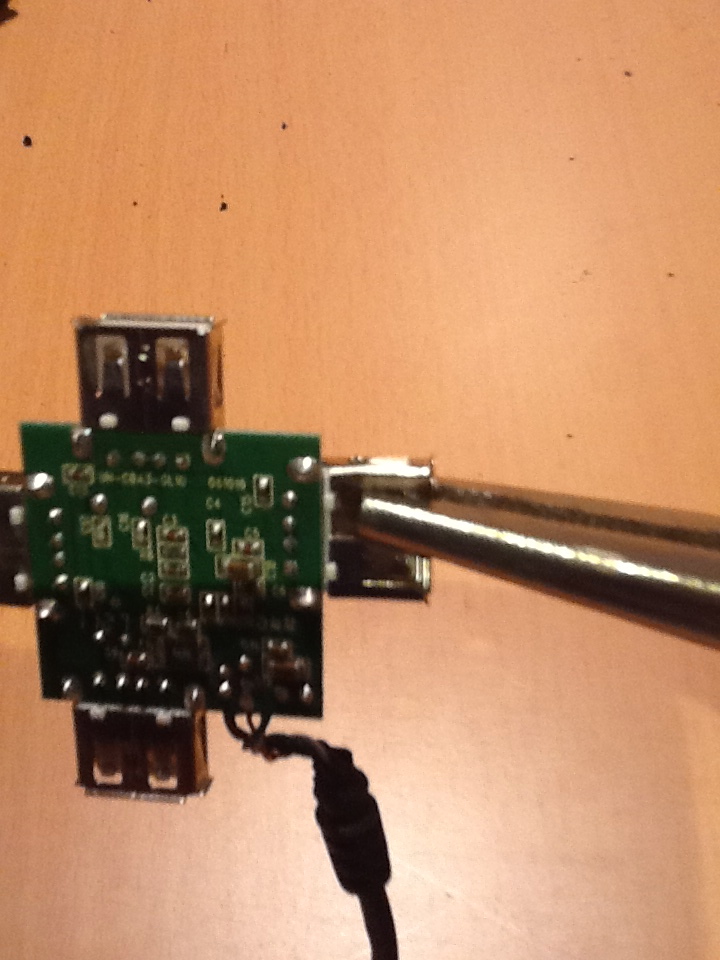
Now you need to take the cable that is attached to the gamepad and cut it. Make sure you cut it long enough to reach the corner of the gamepad where the hub will go. Cut it longer than you think you need and then strip off the black sheathing and then strip off the individual colored sheathing to expose the ends.
You need to select one of the USB positions on the hub and clean out the holes with a solder sucker/solder wick.
Put the wires through the correct holes, like so, and solder them, then trim it up and make sure there's no short between any two of the holes because of your crappy solder job. You may also need to trim the wires off on the backside of the board, depending on how much wire you stripped.
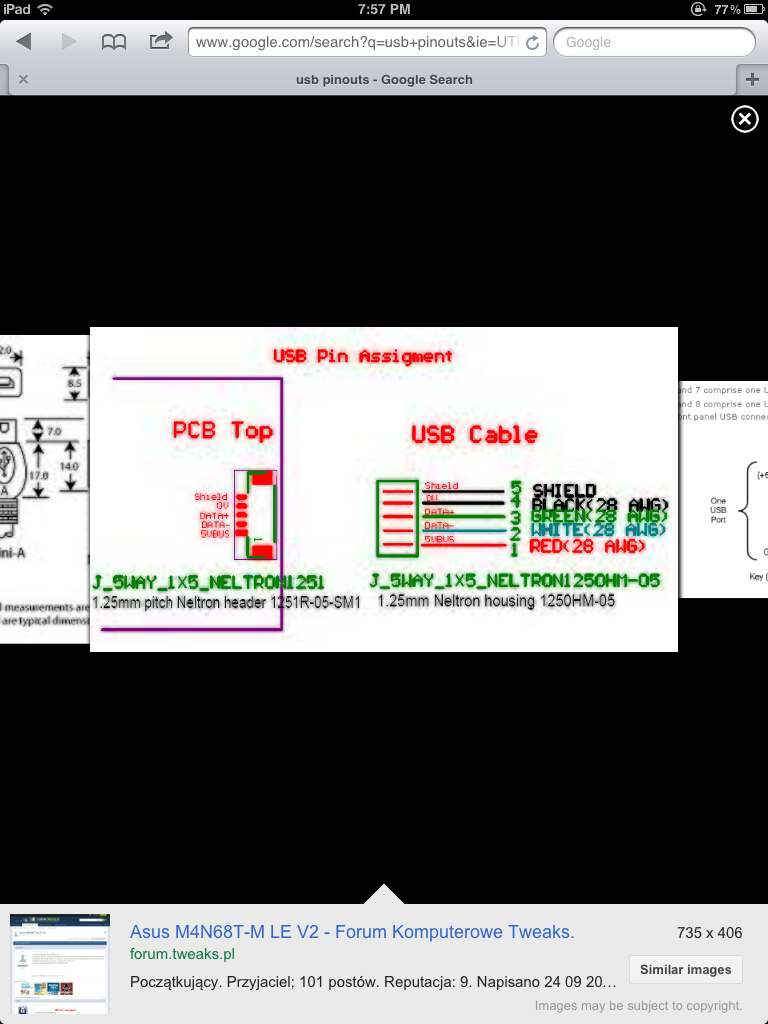
This is the pinouts for a USB connector. Note the big solder pads. That should orients you as to which wire goes in which hole.
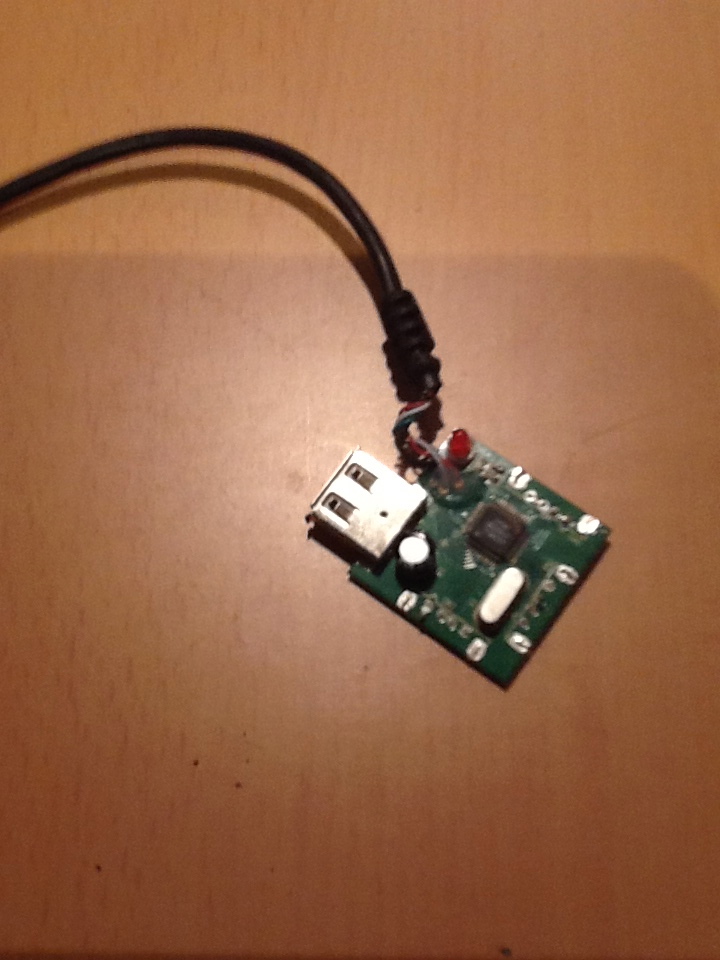
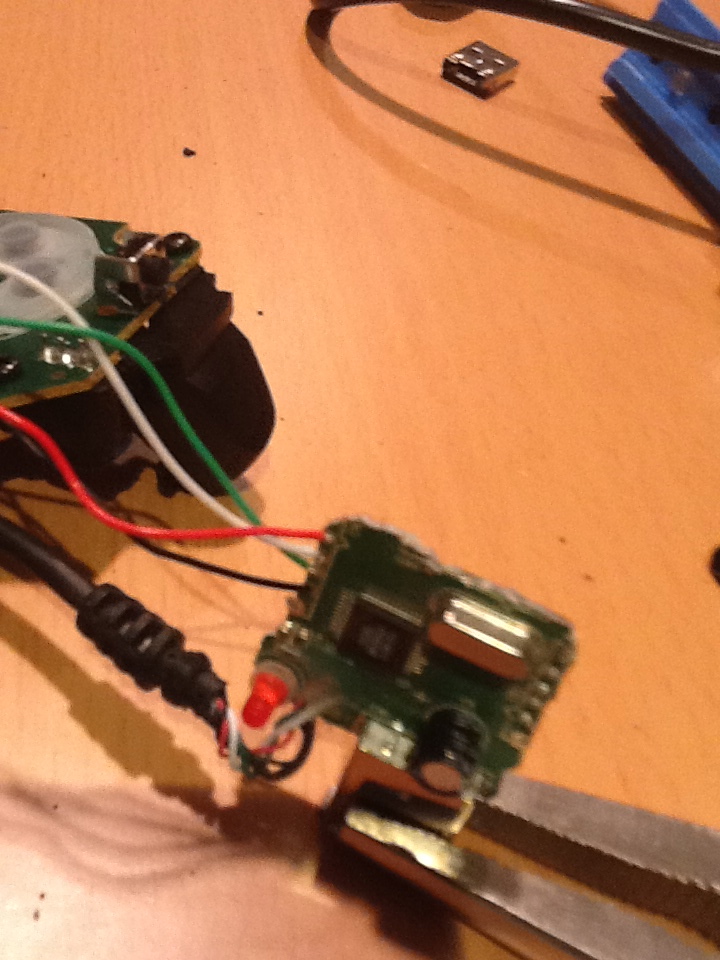
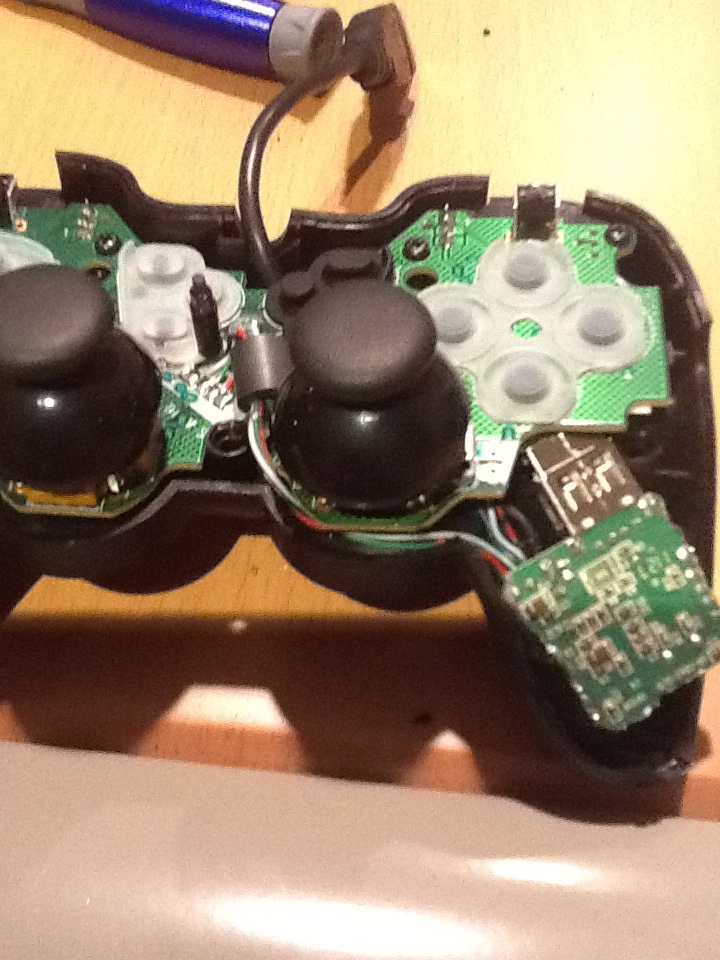
Now plug the USB thumb drive in to the hub connector, put that in the handle, and put the circuit board back in the base. See how I've routed the cables? I routed the USB hub cable under the circuit board and the gamepad cables kind of on the edge. I also put the hub in upside down so it would fit better. Do what you need to to get the parts in, the cables routes, and the circuit board screwed back in.
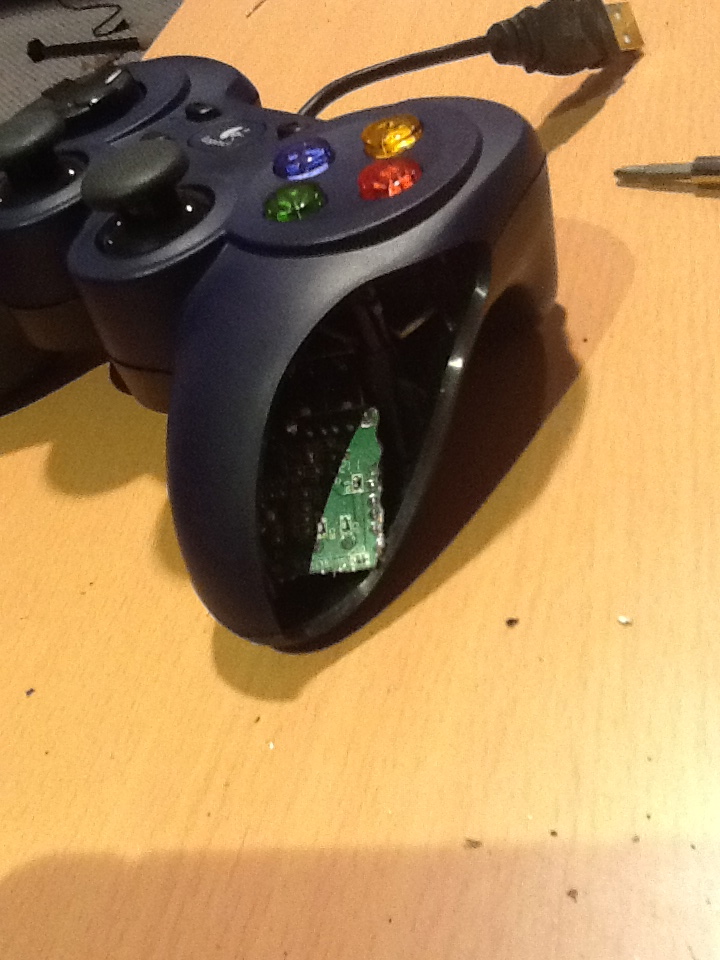
I've attached the bottom back to the top. This gamepad has two side pieces also. After screwing the bottom back to the top I can snap the two side pieces in.
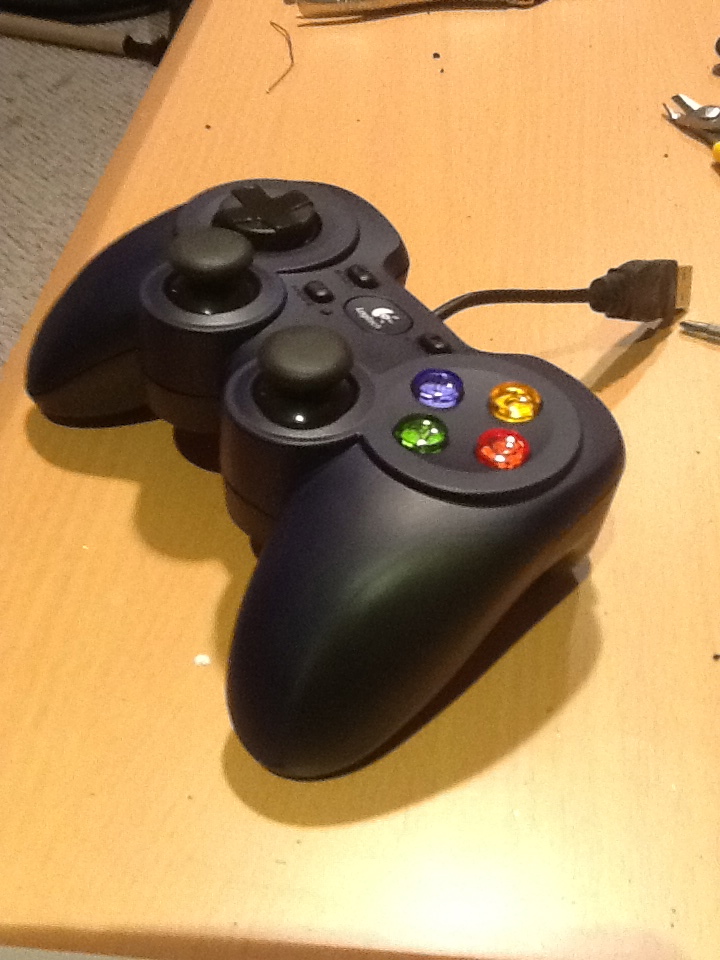
All Done! Now on to the software!
Software
What you have now is a USB thumb drive inside of your gamepad. The next step is to get some emulators on to it, as well as a front-end that you can control with the gamepad. There is one core requirement: The front-end and each emulator has to NOT install. Every file has to be local. No writing to the registry, etc. That generally means that if the applications attempts to install itself then you need to delete it and find a different application. Once you get your front-end and emulator installed you then need to configure them. Most front-ends and emulators will have instructions on how to configure them for a cabinet, or arcade control panel. In general you want the emulator to EXIT on the ESCAPE and run in maximized mode. You'll also need to configure each emulator, by hand in most cases for LOCAL paths. This means going through its config files and replacing lines like "d:\emus\n64\myconfig.cfg" with lines like "..\n64\myconfig.cfg", or whatever the case may be.
I'll add some more details on emulator and front-end configuration very soon.
You can discuss this/ask me questions over at VideoGameGeek.com in this thread.